My little sewing room has seen a lot of activity since I tidied it up a few weeks ago. And while I can’t say it remained perfectly tidy, I must note that the new organizing system seems to be working. Despite all the different things I’ve been creating simultaneously, it surprisingly stayed in a completely manageable state!
If you’ve been following my previous posts and my Facebook Page you might have gotten a hint as to some of the projects I’ve been working on lately. Today I’m excited to share the work I’ve done this week on a shop banner:

I became obsessed with sewing a little over a year ago, and since then participated in three or four small crafts fairs. For the very first fair my daughter laboriously prepared a nice paper banner, which we laminated for durability. When I arrived at the fair, however, I was saddened to realize I forgot it at home… By the time the second fair came around many months later, the banner simply disappeared. I kept thinking I should make a new one, from actual fabric, but simply couldn’t find the time. And so, for the remainder of the fairs in 2016 my booth remained bannerless.
One of my goals for this year is to participate in more vending vanues than last year. My first small event for 2017 will be happening tomorrow. And so it occurred to me that perhaps the time has finally come to make a real shop banner.
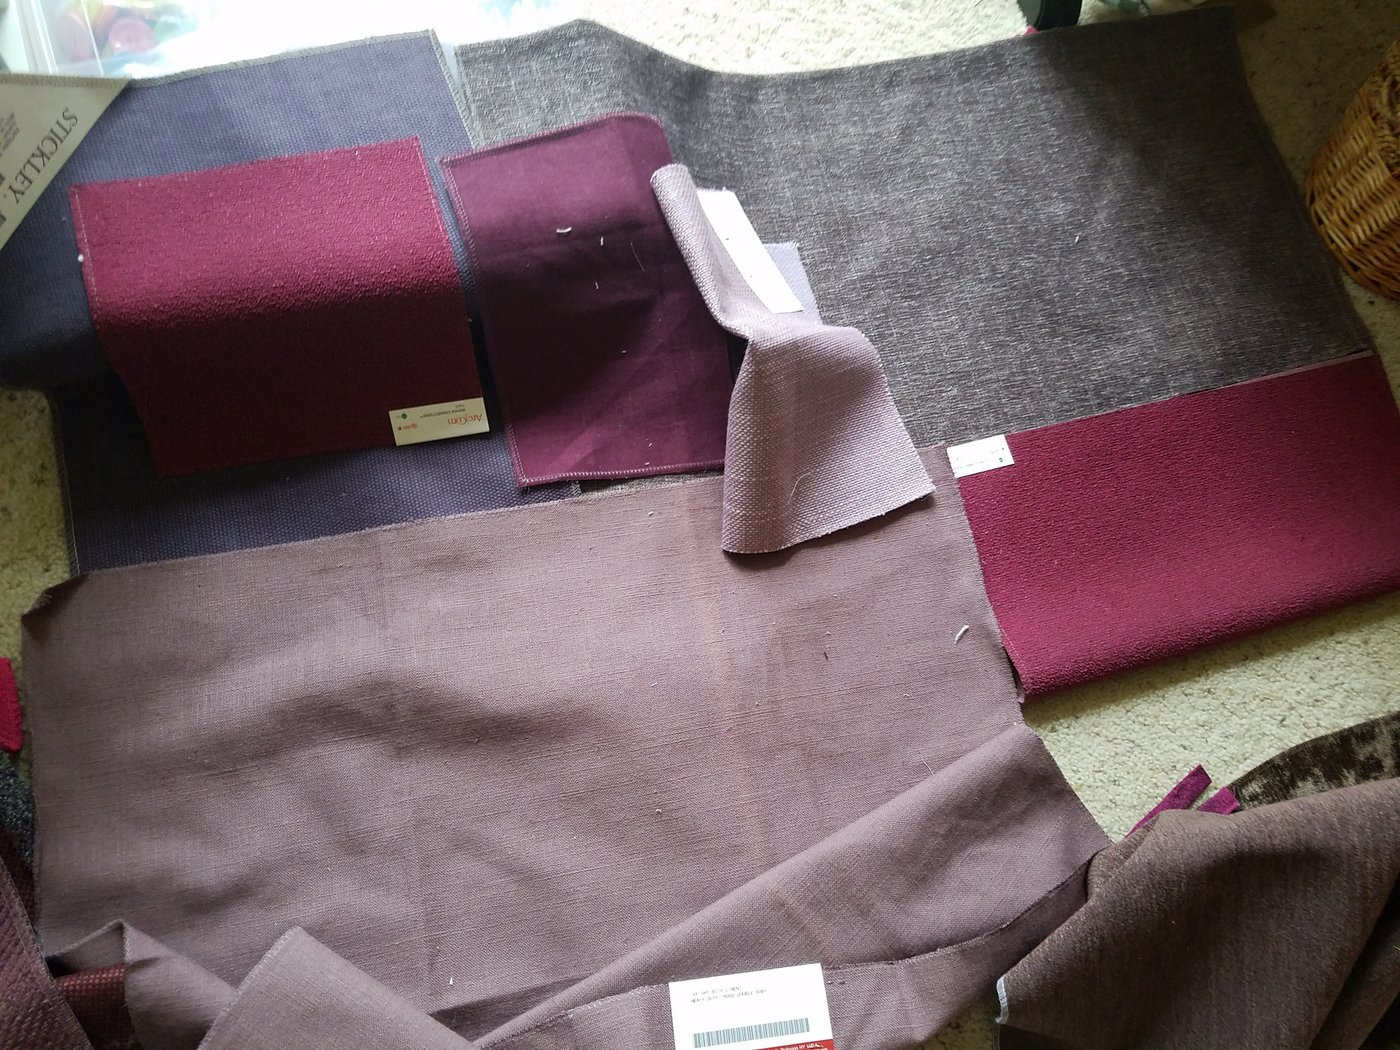
I’ve been thinking a lot about which colors I want to use. I have many small pieces in different shades of blue, so at first I thought I should make it blue. I also considered a palate of fall colors, since I really like those, too. But the more I thought about it the more I realized that I really didn’t have a choice at all. An ANY Texture banner would just have to be in shades of purple and magenta, just like my Give a Hand art quilt. As my mom could attest, I’ve simply always been a purple girl…
And so, I assembled all the purple/dark pink fabrics I could put my hands on, and started playing with different combinations:
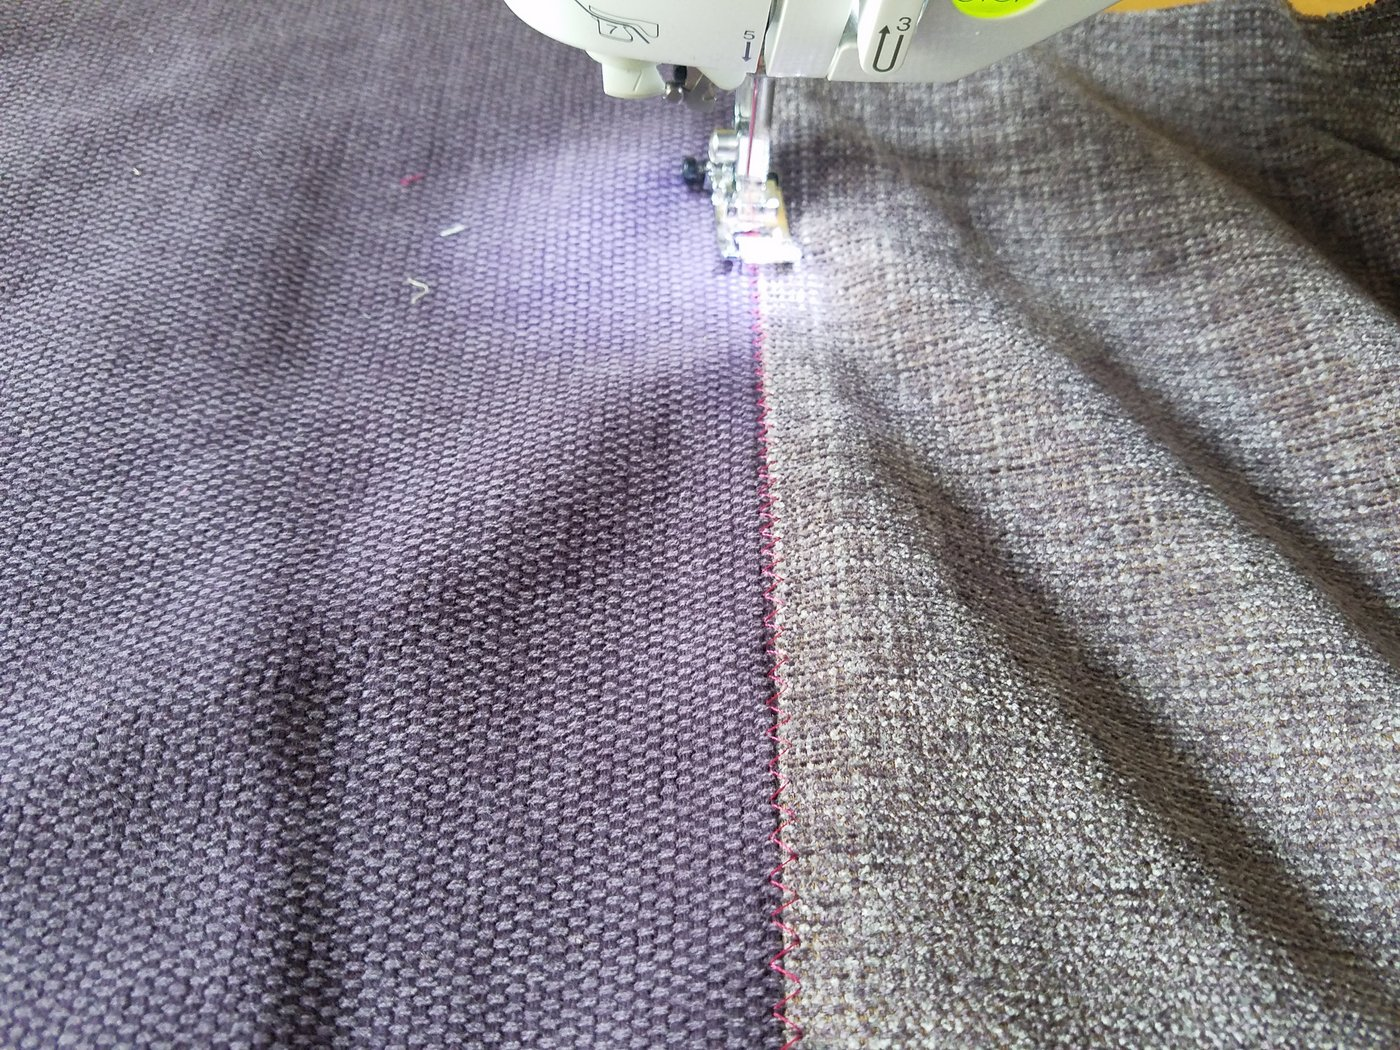
I settled on a composition I liked for the background, and sewed all the pieces together:
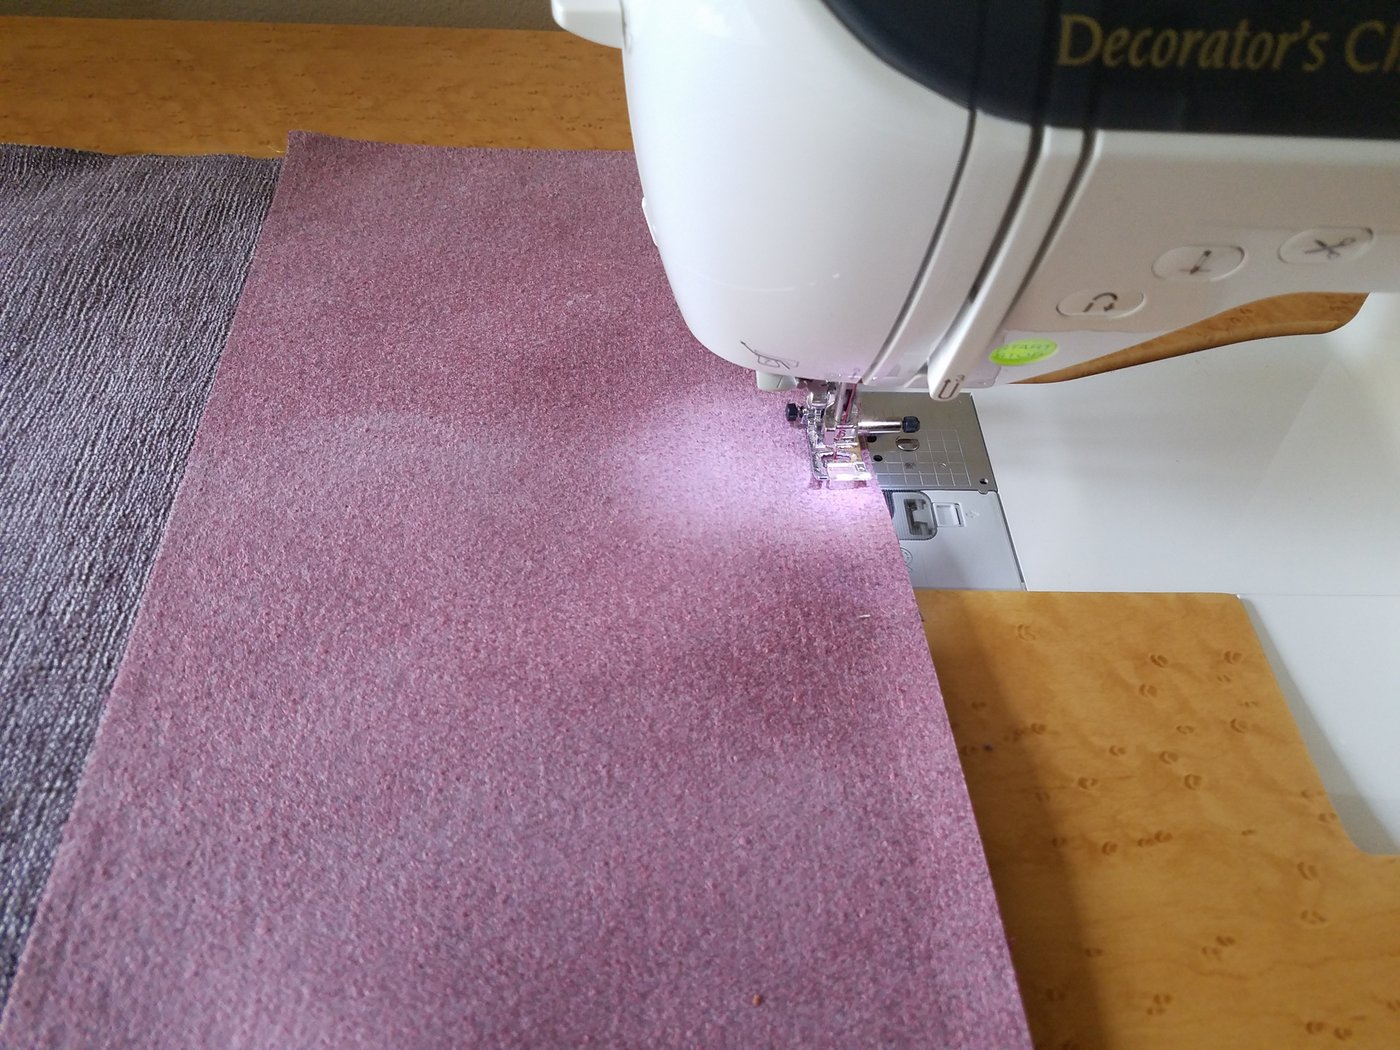
I then zig-zagged over all the seams to keep the piece flat, and also to give it some additional color nuances:
Then I chose fabrics for the letters, and for the first time doubted whether it was wise to choose a shop name that was ten-letters long…
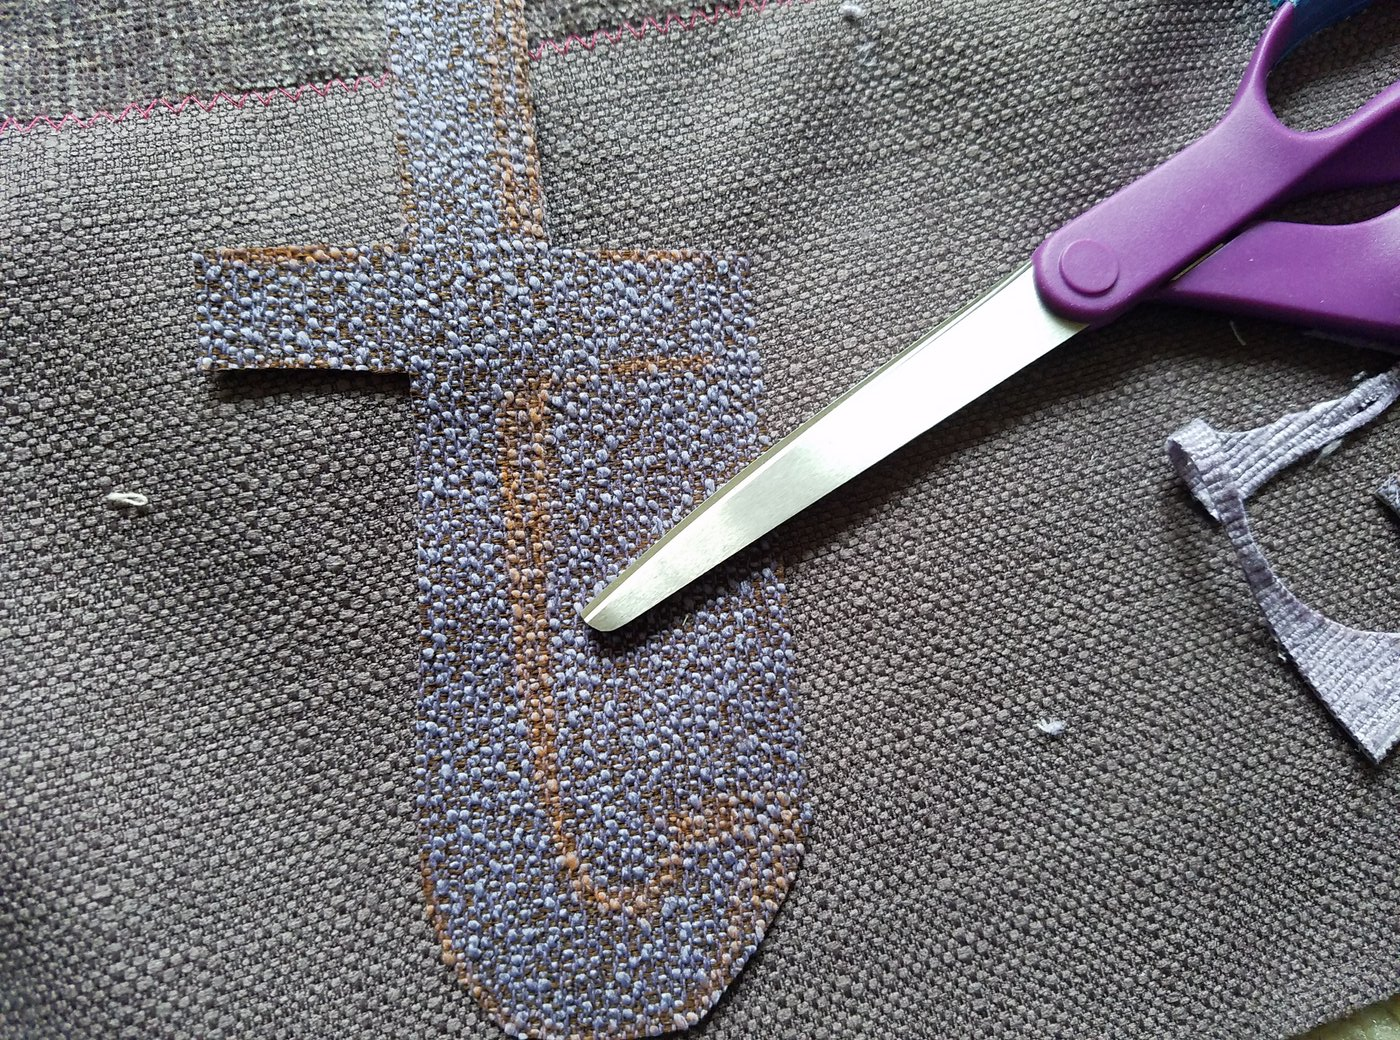
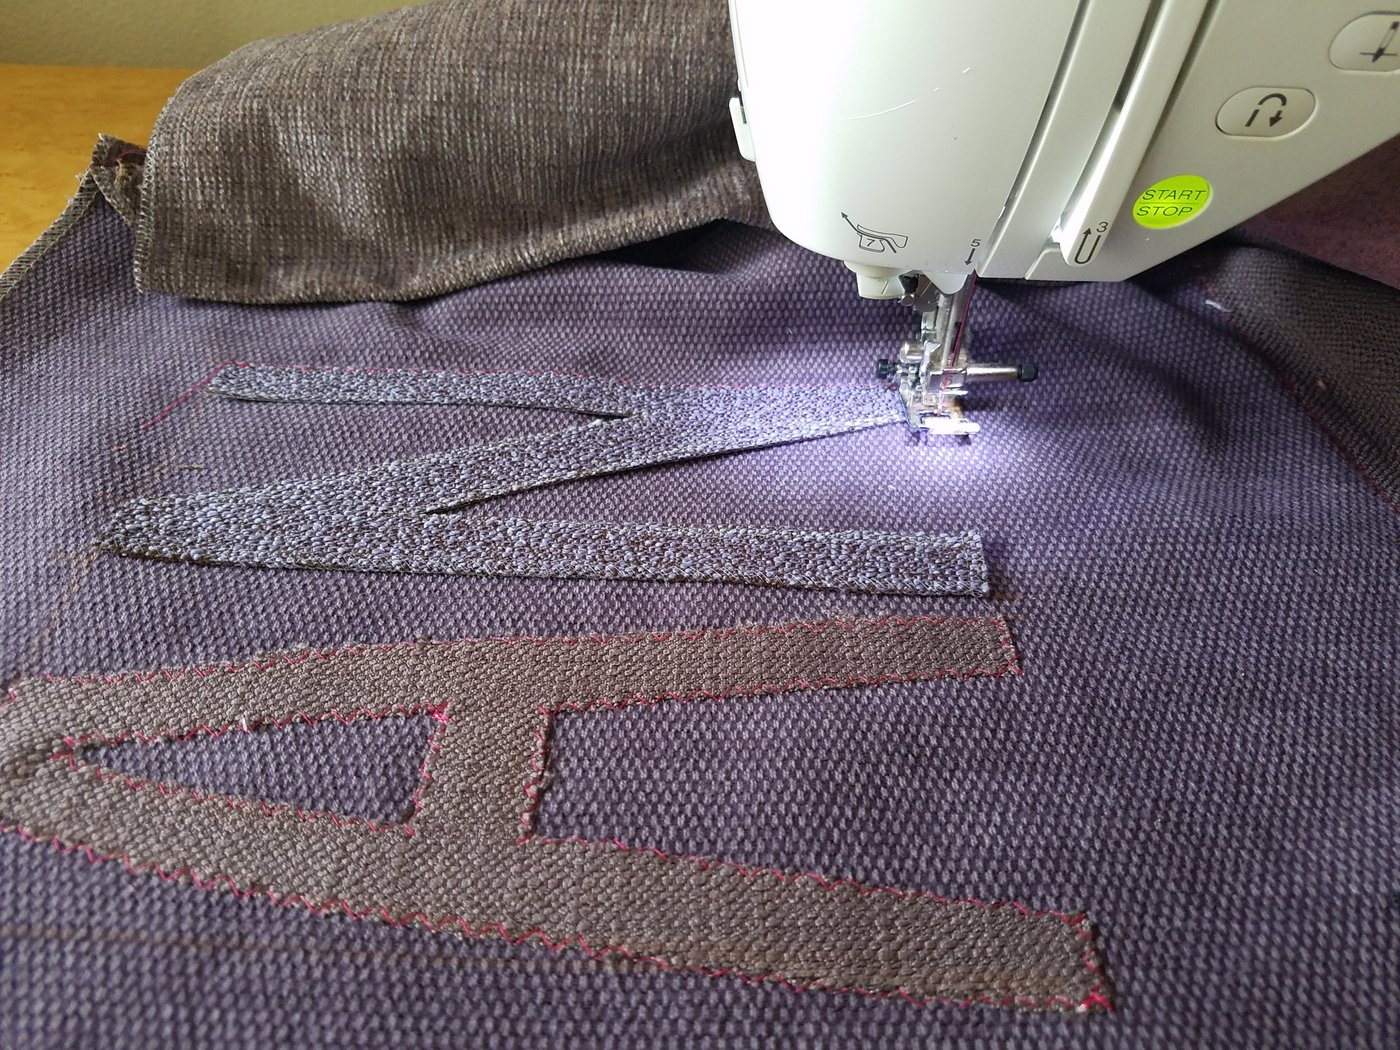
My kids don’t realize it, but sewing actually requires quite a lot of math. For this project, for example, I had to measure everything and figure out the maximum size of each letter. I proceeded to cut all the fabrics accordingly:

Once again, I played around with the order of the colors, until I settled on an order I liked. Then I drew all the letters onto the fabrics and cut them out:
I arranged the letters on the background, to see how they fit and how it looks:


Originally, I wanted to hand applique everything. Since I needed the banner sooner rather than later, however, and since hand appliqueing can take many days, I decided to machine applique it instead:
This is what my banner looked like after I finished attaching all the letters:
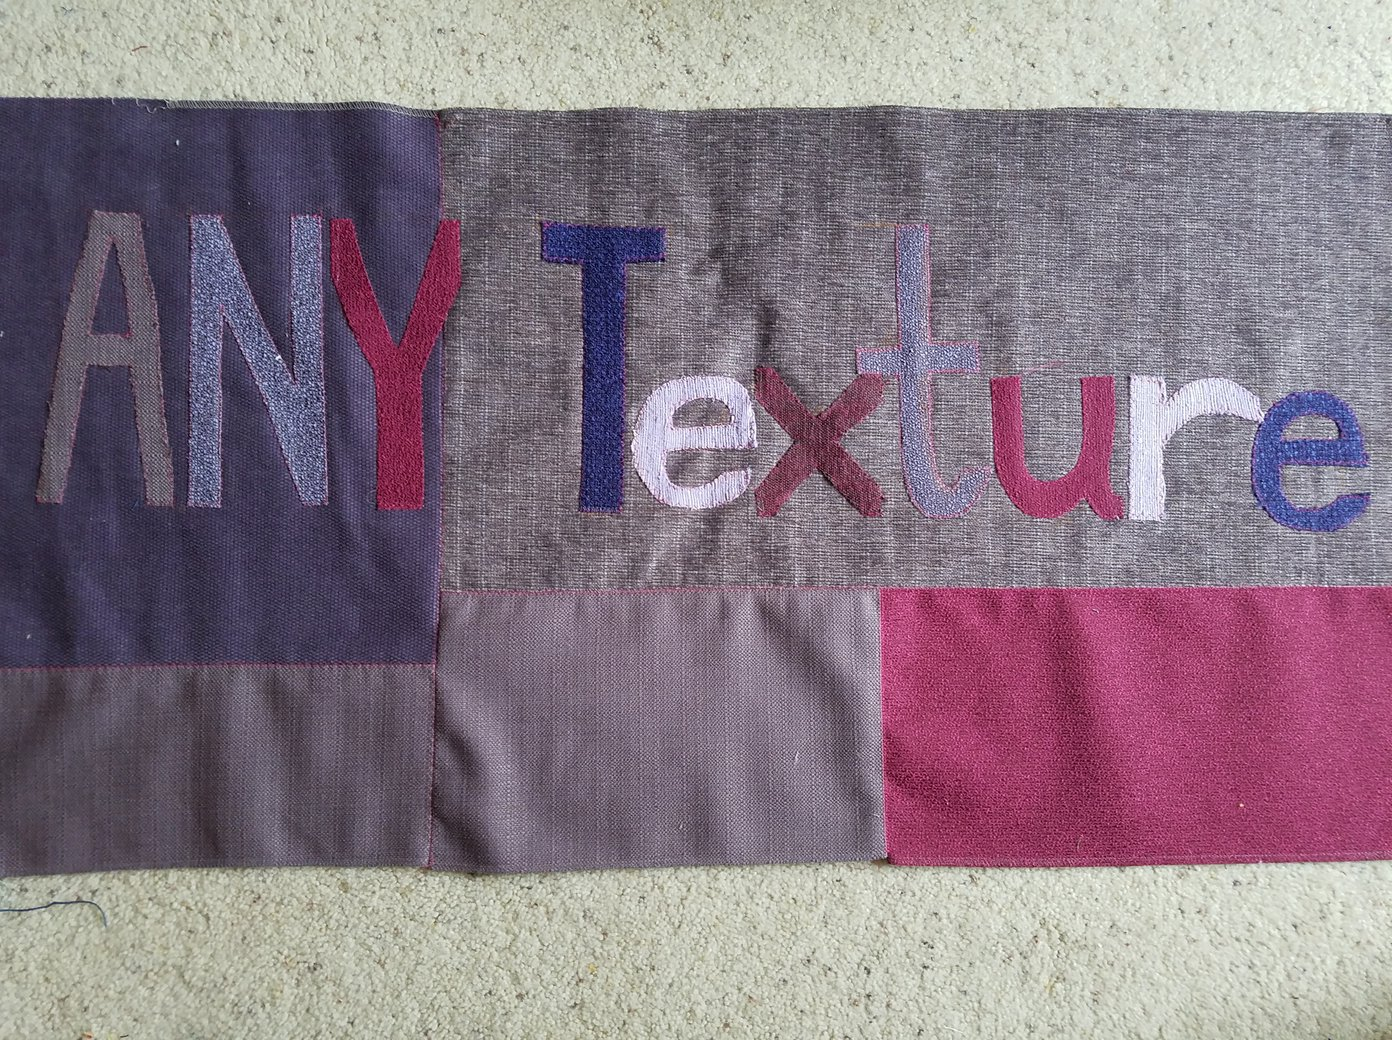
At this point I noticed that the “t” in “Texture” was too close in tone to the background, and that it kind of disappeared from afar. So I decided to hand applique it with a bright changing-tone magenta embroidery floss, to give it a stronger outline:

The very first picture in this post is what the final banner looks like at the moment. It will be perfectly functional for tomorrow’s purposes, but for me it is not quite finished yet. I still want to hand applique all the letter, and maybe add a subtitle, or even a few decorations. I will have to think about it some more...
No comments:
Post a Comment