About three weeks ago, inspired by the success of my own tote pair (and family and friends' subsequent enthusiasm), I started working on seven new extra-large totes. I realized that it’ll be easier for me to work on several simultaneously rather than tackle them one by one. Not because it takes less time, but because it eliminates the need to constantly think of what to do next, and also because this way I can do all my cutting and ironing at the same time, thus avoiding setting everything up over and over again (well, I guess in that regard making a few at a time DOES save some time…).
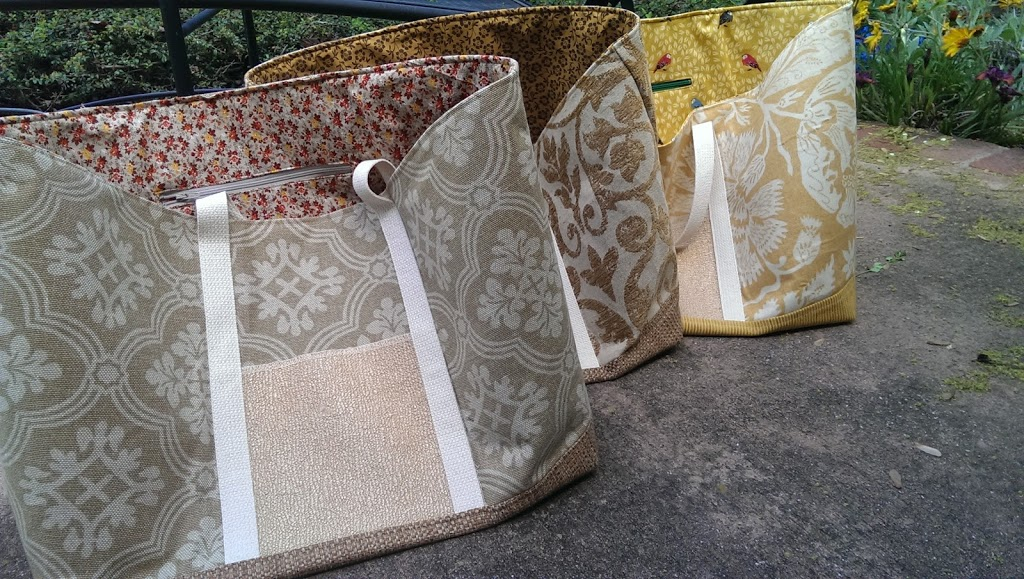
I finished about half of them this morning:
These totes were my main project for the last three weeks, although I did work on a few other things in bits and pieces in-between. It took three weeks because my sewing time is rather limited.
A tote starts with me choosing fabric for the outer layer, both for the “walls” and bottom of the tote, and for the outside pockets. I also choose straps in a matching color.
Once the fabrics are matched, I cut them all to size and sew them together. This is a picture of about half of my new totes after I finished sewing the outside pieces together and attached the handles.

Once that is done, I choose fabric for the lining.

Then I cut the lining to size. For these totes it took a couple of hours to cut all the lining pieces and make them the exact right size, since not all the totes were the same size, and so I had to measure each one and make sure I cut the lining accurately.

After that comes the ironing stage. In this case it was a LOT of ironing. In fact, two or three entire work-days of it! It’s funny, because normally I hate ironing, and postpone it as much as possible. I’m ashamed to say that our Thanksgiving tablecloth is still waiting to be ironed (and it’s March already!!). But somehow when it comes to sewing projects I don’t mind it as much…

For these totes, because they are so big and since I want them to carry heavy weights and last a long time, I first had to iron heavy interfacing onto the backside of each outside layer. I tried two different brands, but found that heavy fusible interfacing just doesn’t stick that well, regardless of the manufacturer. It takes twice as long as what the label recommends, but even then the interfacing often peels off after a while, requiring yet more ironing… So I stood there for hours. Once that was done I had to iron all the lining pieces again. That went much faster!
This is how the two layers looked once all the ironing was done:

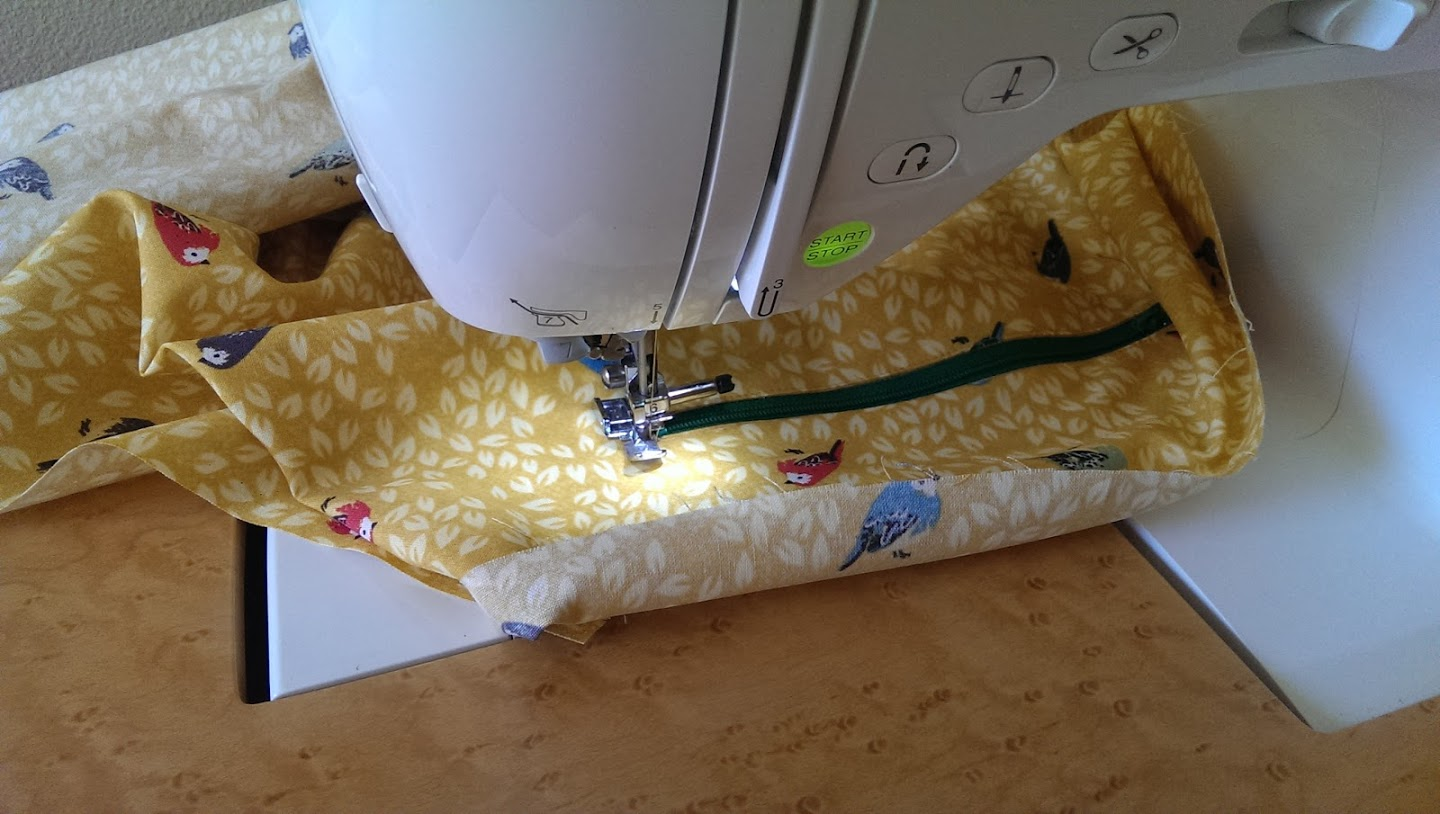
After the lining is nicely pressed, I choose a matching-colored zipper and sew it on. Here is an example:
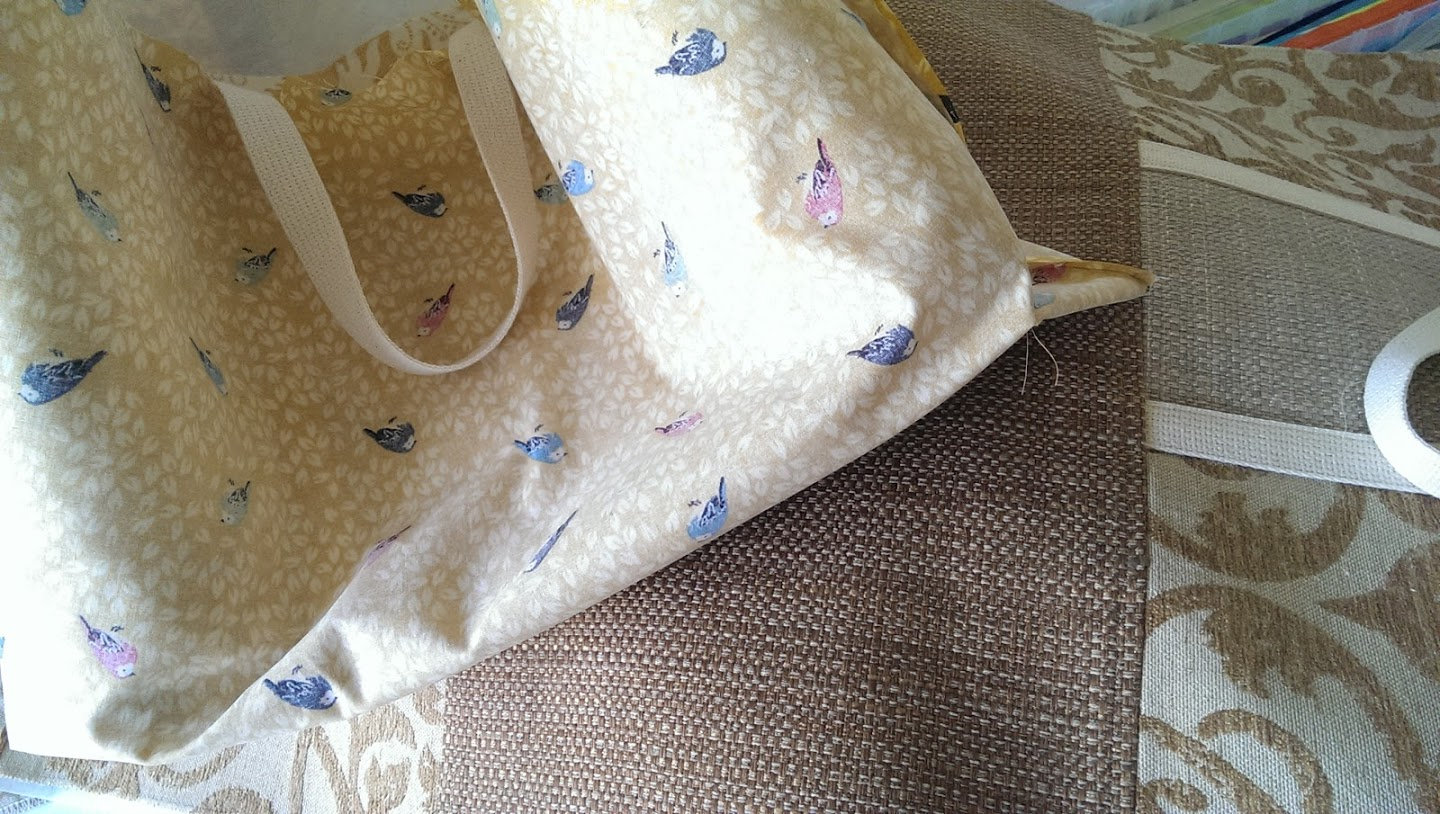
I then sew the inner pocket, sew the lining and sew the outer layer. I turn the outer layer right-side out and place it inside the lining:
Then I stitch the opening, turn the tote in and top-stitch the opening shut. And that is it! It takes a long time, but it feels really good once everything is finished, and even better after people start using it and enjoying it!
No comments:
Post a Comment